So thanks to all the RATZ swapping, I've been making all sorts of things I normally wouldn't have made time for. You might remember the
first swap when I made some key fobs. Well, I had some leftover supplies and thought they might be a great addition to my goods for the vendor fair.
After making a couple, I decided I needed a better method.
Originally I was creating a 1" bias tape to sew onto the webbing. However, I just didn't like the way certain fabrics behaved with that method. I felt like you could see that center seem too much plus I didn't have enough consistency down the strips and some areas looked thicker/thinner than the rest.
See, in all of my crafting, I really have to work hard at keeping things straight - lines, that is. That handy little 1/4inch foot for the sewing machine? Yeah, that was made for people like me! So many people are afraid to try free-motion quilting but I do it because I find it much easier (and more fun) than straight line quilting. Straight line quilting stresses me out!
Anyway, I found a method for making the key fobs that works really well. So if you're straight-line challenged like me, you might enjoy this quickie tutorial. It actually saves me time and frustration.
Materials:
- 10" of cotton webbing
- (1) 10 x 3 piece of fabric
- (2) 1x 9 3/4 (a little less than 10") fusible web such as Pellon Wonder Under (#805) *SEE IMAGE
- Fob Hardware I bought mine at Everything Ribbons on Etsy I just put in a rush order and they have been terrific!!
Optional but recommended:
- Fray Check
- (1) 10 x 1/4 fusible web
1. Once you've chosen your fabric (I used some Central Park by Kate Spain because I love her stuff) layout your Wonder Under so that they are lined up on the top and bottom edge. Iron in place.
NOTE: Wonder Under will stick to your ironing board cover and iron so be make sure it doesn't extend over the edges of the fabric
2. DO NOT remove the paper from the fuse yet.
This will keep your sides straight.
Fold up one side using the paper on the fuse as a guide. Iron to emphasize the crease.
3. Now fold the other side.
It will overlap and the paper will fold. This will give you that crisp straight line. Iron this too, on both sides.
4. Remove the paper from the first side you folded
(without the paper folded).
5. Refold and iron JUST the edge. You want to be able to remove the paper from the other side.
6. Remove the (folded) paper from the other side and iron together. Your creases should be able to guide you without the fabric getting all weird/wonky.
You should be left with a perfectly straight
1" wide
strip of fabric ready to be attached to
your webbing.
Additional Info:
I apply fray check to the end of the webbing so that it doesn't get ratty looking. The other thing I find that helps is taking an additional piece of fuse and attaching the fabric to the webbing so that it doesn't slide while sewing it into place.
And there's my little fab fob 'trick'. Hope it works for you too!

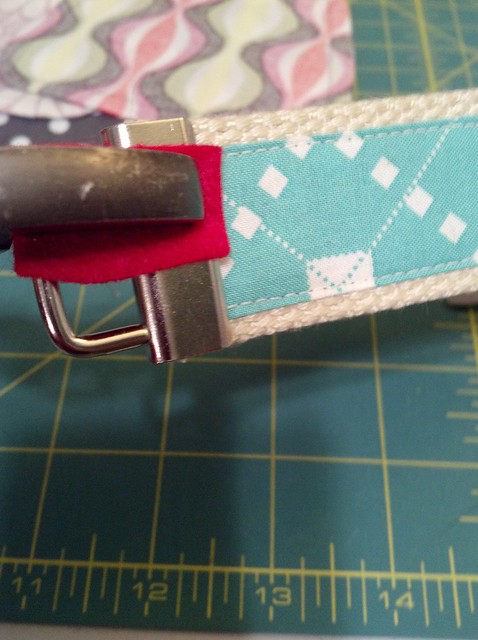 One thing that really made me crazy while making key fobs


